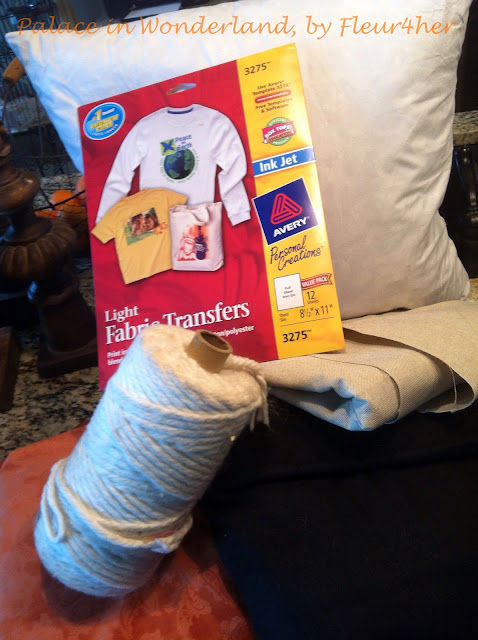
It took a while, but eventually I gathered all the materials.The only thing I didn't have was piping. I wanted something with a contrast, so I decided to make my own. This brief tutorial is for those who have never made their own piping.
What is bias? Bias tape is a narrow strip of fabric cut on a 45 degree angle. HUH? Here, maybe this will help http://en.wikipedia.org/wiki/Bias_tape. You can buy it at any fabric store, and when it is on sale, I suggest you picking some up from time to time, but if you don't have any, you can easily make your own.
How to make your own Bias Tape for piping, my way:
Materials
- A rectangle of fabric
- Fabric Chalk
- Yard Stick or Ruler
- Scissors
- Cording
Step 1
Measure the length and width of your pillow. Mine were 20"x20". You will need enough piping to go around the entire pillow which would be approximately 80". Two pillows will need 160". Easy so far!
Step 2
Lay out your fabric. Begin by marking around the yard stick with the chalk at what appears to be a 45 degree angle. Do your best, but it doesn't have to be perfect. I drew a bunch of strips, and didn't bother to measure this because I did a lot and knew just by eyeballing it that it would be plenty, which it was.
I know what you are thinking...butterflies for Halloween pillows??? Just wait, you'll see.
Step 3
Cut them out. Then cut all of the edges to make sure they are squared off. Sew the edges together. Remember, Right Sides Together! You should now have a long strip of fabric.
Step 4
Measure out your cording. Since I know I need about 160", I gave myself an extra 20" incase of error, so I cut out 180".
Step 5
Attach your zipper foot to your machine. Take your bias tape and the cording, and simply wrap the cording with the bias tape. Sew very close to seal it in.
You are done! Now you have your own piping. Go ahead and attach to anything, whether it is a pillow or blanket. Whatever you like.
I would like to point out that the piping just looks black. It has little silver sparkles on it from the butterflies, but you can't see a single butterfly. Success!
Now onto my pillows. I decided to make pocket pillows this time since these are to be seasonal. I will make new covers for Christmas this year too (so long as my pregnancy goes well).
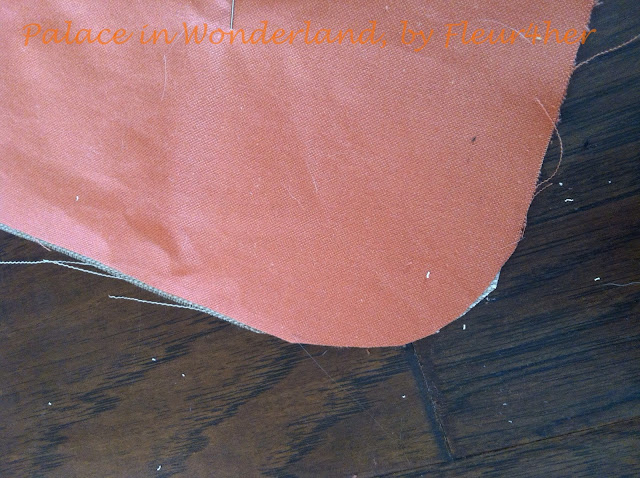
These are of the back, just FYI. Making a rounded corner instead of square is much easier for sewing on piping. I highly recommend this. Your finished product will still appear quite square.
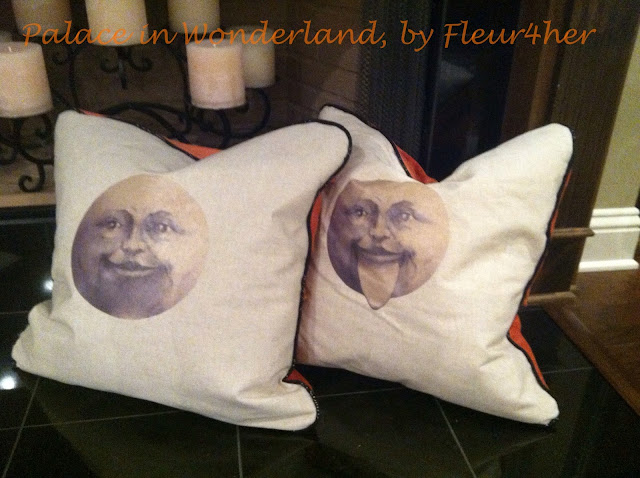
Peek-A-Boo!!! I chose to do an iron on transfer method for these, as it will wash well in the long run. These lovely moon images came from Karen, my fairy godmother, at the Graphics Fairy. http://graphicsfairy.blogspot.com/search/label/Halloween%20Clip%20Art


Great pillows! Good for you making your own cording. I am useless at cording!
ReplyDelete