So that was the dresser before. Like I said, it was bad. No wonder Annie just gave it to me, right? But what I loved about this dresser was that it wasn't your usual French Provincial redo. While I love that look, I get bored with it. This was something that someone truly made. It wasn't from a fancy furniture store. I could really see that someone made this for their home a long time ago. Oh and that cute little girl in the picture, that is my niece. She is my mini-me.
After some sanding with filter, I started to cover the dresser with primer. First I just used some spray paint primer because I didn't want to dirty my roller. Then it got three coats of Kilz primer. I filled all of the cracks with some painters caulk to make sure it was nicely closed off. Then I got to the repairs. The drawers needed new bottoms, and candle wax on the parts that slide because the dresser was made old school, and they were stuck. In the picture above, you can see a strap, that was for the leg that was bucking out. I took 3 weeks to gradually move that thing down and cinch it inward to straighten out the bad leg. It worked like a charm, but if you want instant gratification, in a case like that, you can forget it. You must be patient.
I repainted the inside of the drawers with an oops paint from Home Depot that was an ultra high gloss latex enamel. It took four coats because it was so glossy and I wanted a heavy candy like finish where I could see my reflection! BTW, see that rocking horse? ^^^^^ Check back for the DIY for that cutie!
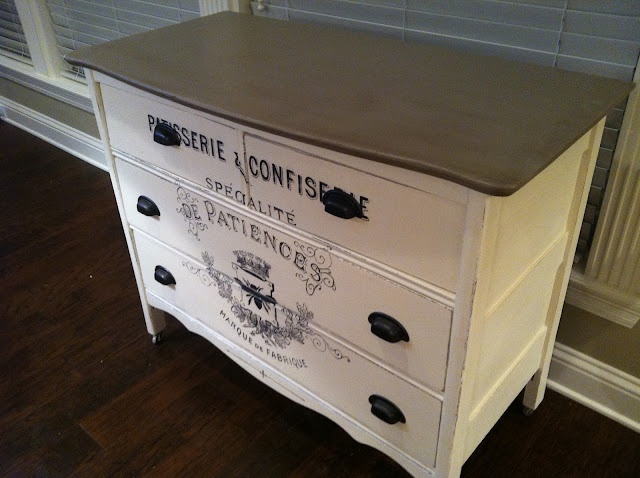
From there I got to painting. It is summer so I prefer to work indoors. I used Anne Sloan Chalk paint for the top and body of the dresser. Coco for the top and Old White for the sides. For the top, after three coats of paint, I sanded it by hand with a 1000 grit sand paper, because I wanted it super smooth. The dresser was so old it really needed it.
I then spray painted the original knobs with Rustoleum Oiled Bronze, five coats. They turned out awesome. Who needs to buy new when you can redo, right? For the graphic, I visited my fairy god mother at the Graphics Fairy, and found the perfect French label. I loved the bug on the jar, perfect for my baby! http://www.graphicsfairy-diy.com/2012/03/transfer-printable-french-patisserie.html
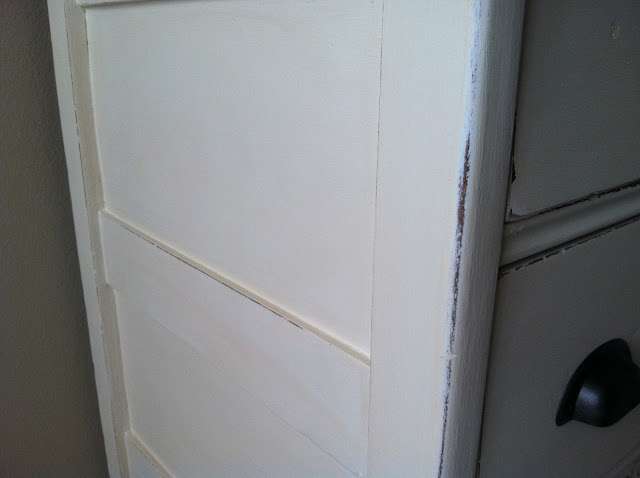
I did some light distressing on the sides and front...only where natural banging around would occur. After three coats of dark wax on the top and three clear on the sides, my baby's dresser was done! Hope you like it as much as we do.
Thanks!!!!


